
How to Start Painting Banners!
If you have ever wanted to paint your own event banners, whether for parties, school events, or small businesses, getting started can feel a little intimidating. The process becomes much easier once you understand your supplies, practice your technique, and build confidence overtime. Before you know it, you will have a creative skill that brings joy to others and becomes a meaningful part of your art or community.
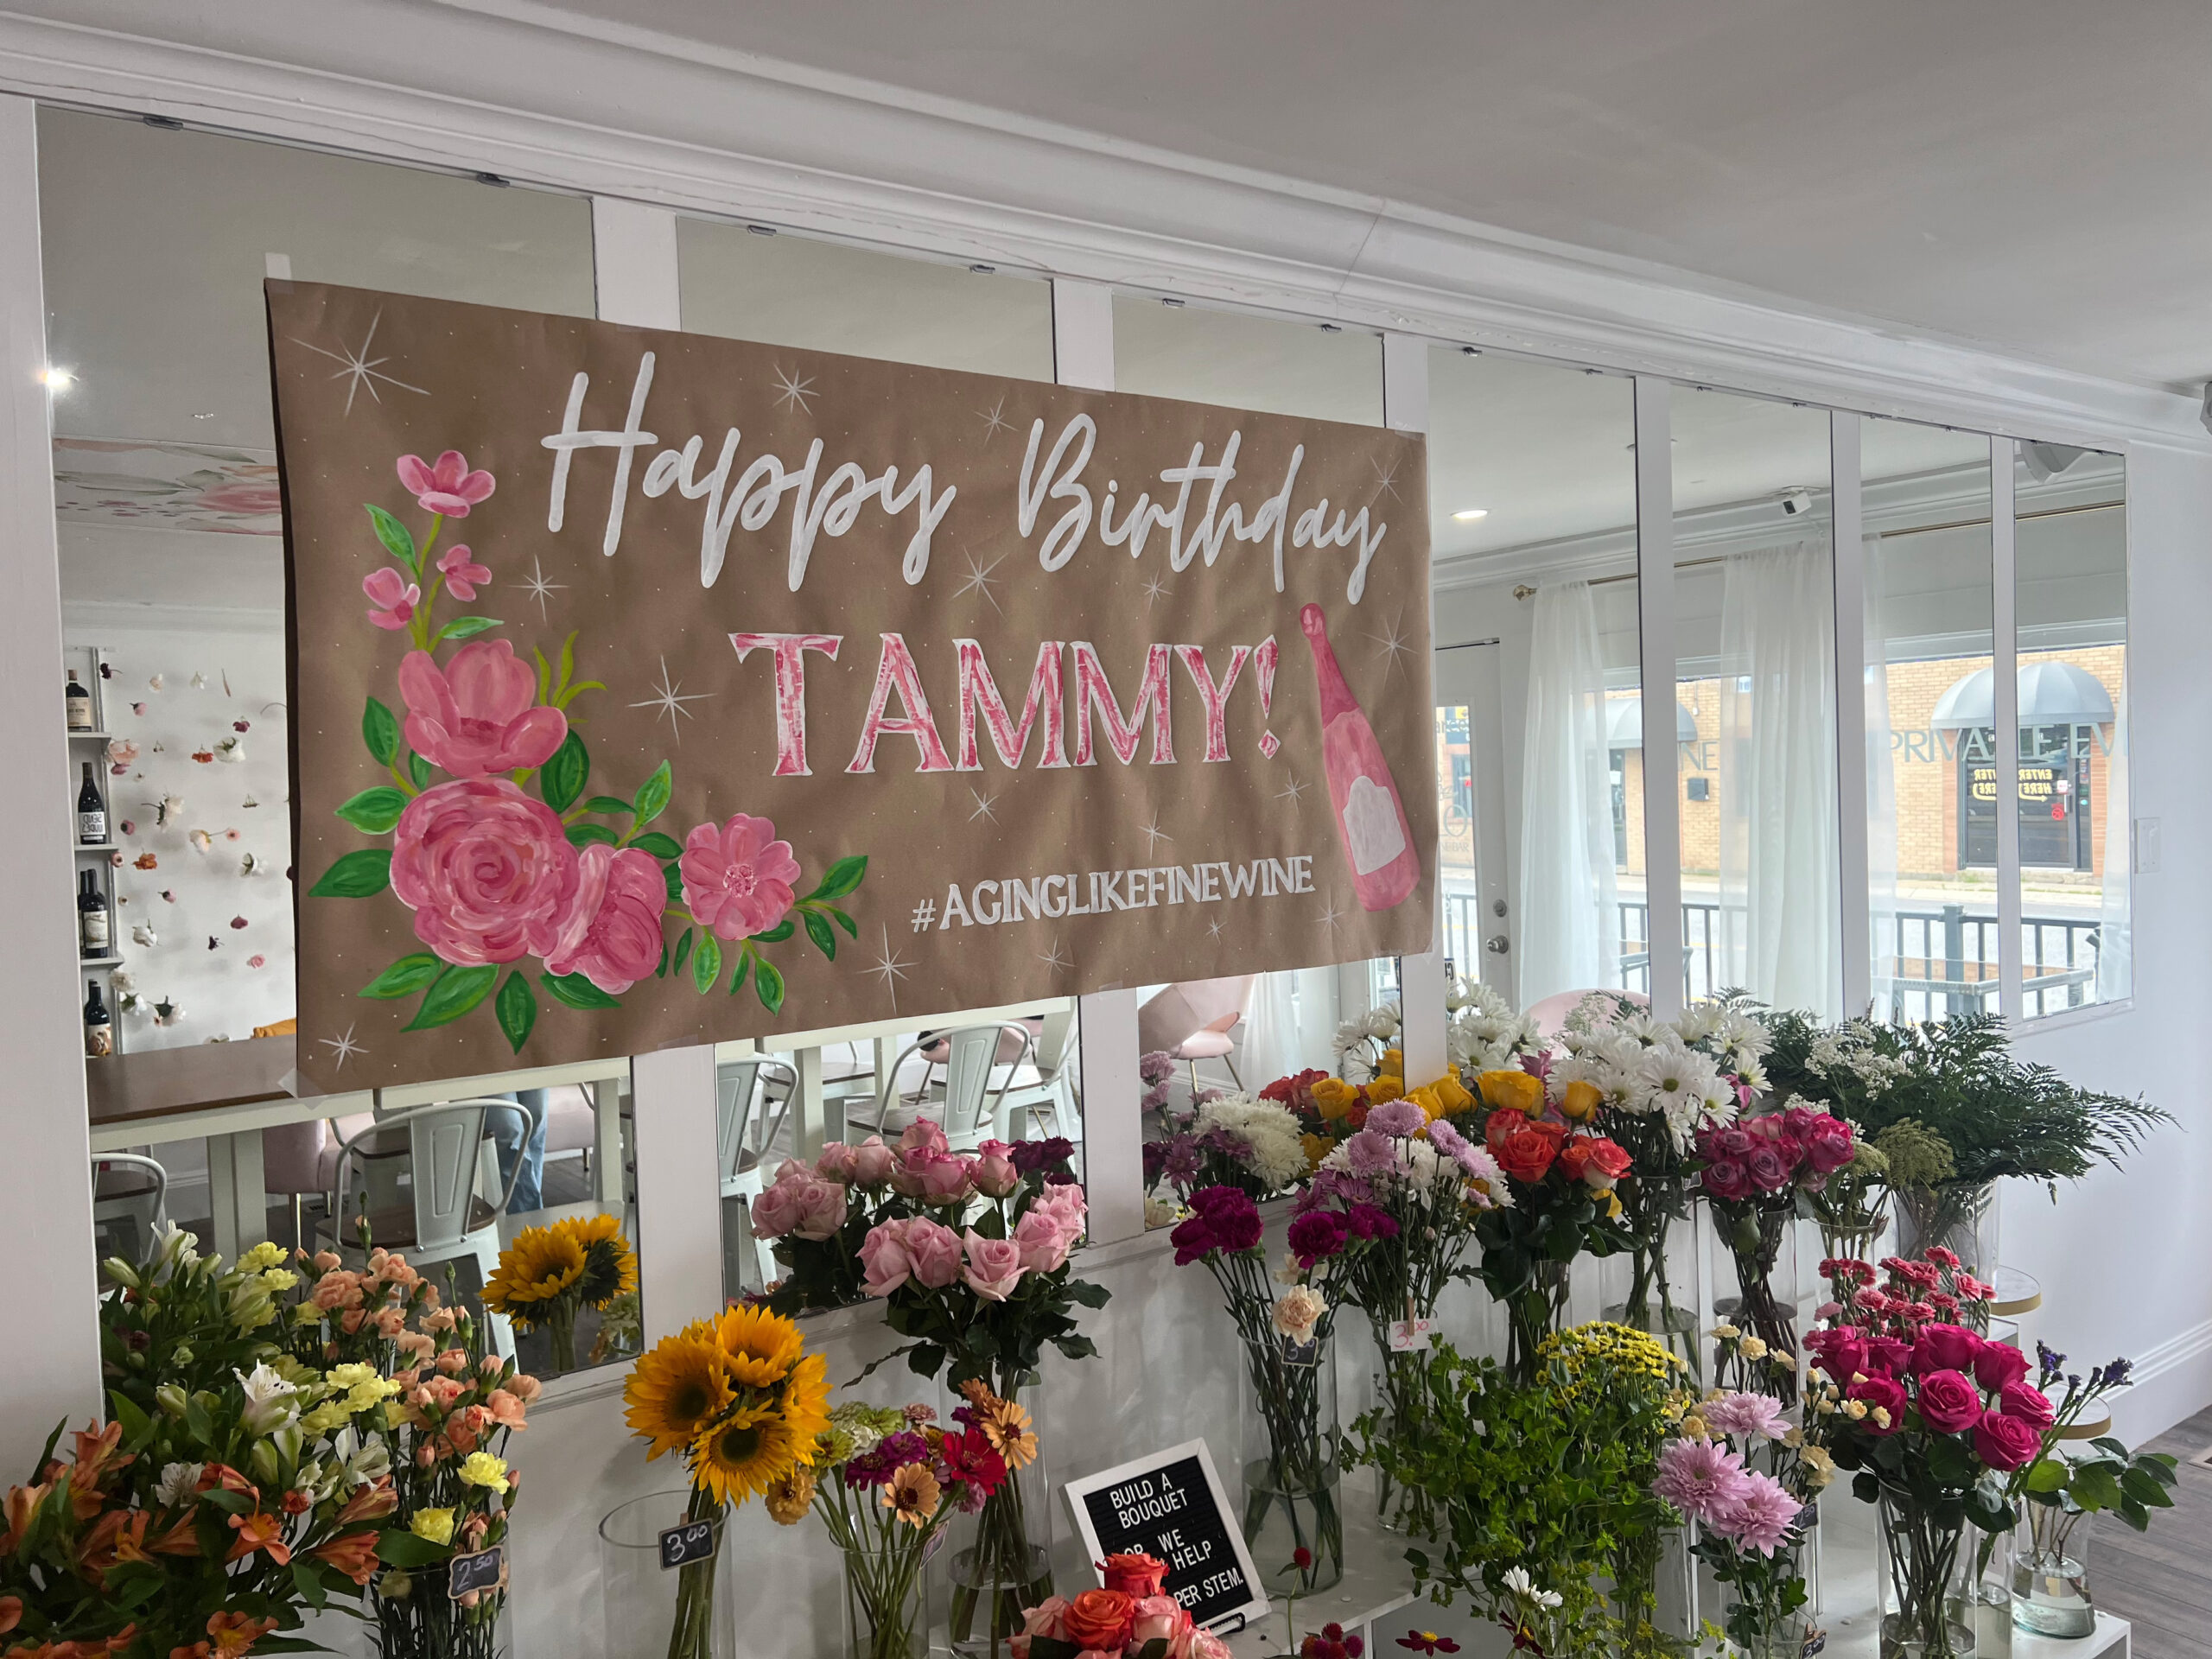
1. Get to Know Your Supplies
The first step is learning what materials work best for banner painting. Many artists use thick craft paper from home improvement stores, acrylic paints, all kinds of brushes, and paint markers for details. Acrylic is usually the easiest option because it dries quickly, holds vibrant color, and stands up well during events. You can find these supplies at craft stores like Michaels or Hobby Lobby. With time, you will discover which types and brands feel most natural to your personal style. Treat this stage as playful experimentation. Below are some links to the exact products I love and use endlessly!
2. Create Digital Designs and Mockups First
Before you begin painting, it helps to design your banner digitally. This allows you to plan your layout, colors, lettering, and spacing without wasting materials. This also helps in making sure your customer is happy with the design before anything is actually painted. Programs such as Procreate, Illustrator, or Canva are perfect for creating mockups. I have found that Canva Premium is the best, most efficient option for mockups. Once your digital design is complete, you can print it as a reference or scale it for projection. This step saves time and makes the final banner feel more intentional and polished.
3. Use a Projector for Accuracy
This tip is a bit controversial in the artist world, but I have found it to save me so much time and headache! A projector can make the entire process much easier, especially when you want clean proportions or specific lettering. You can project your digital design directly onto the banner and lightly trace the outlines. This keeps everything properly aligned and lets you focus your energy on painting instead of guessing measurements. Even a simple mini projector works well for most projects. I have linked below the projector I have had for years that is bright, reliable and fairly inexpensive!
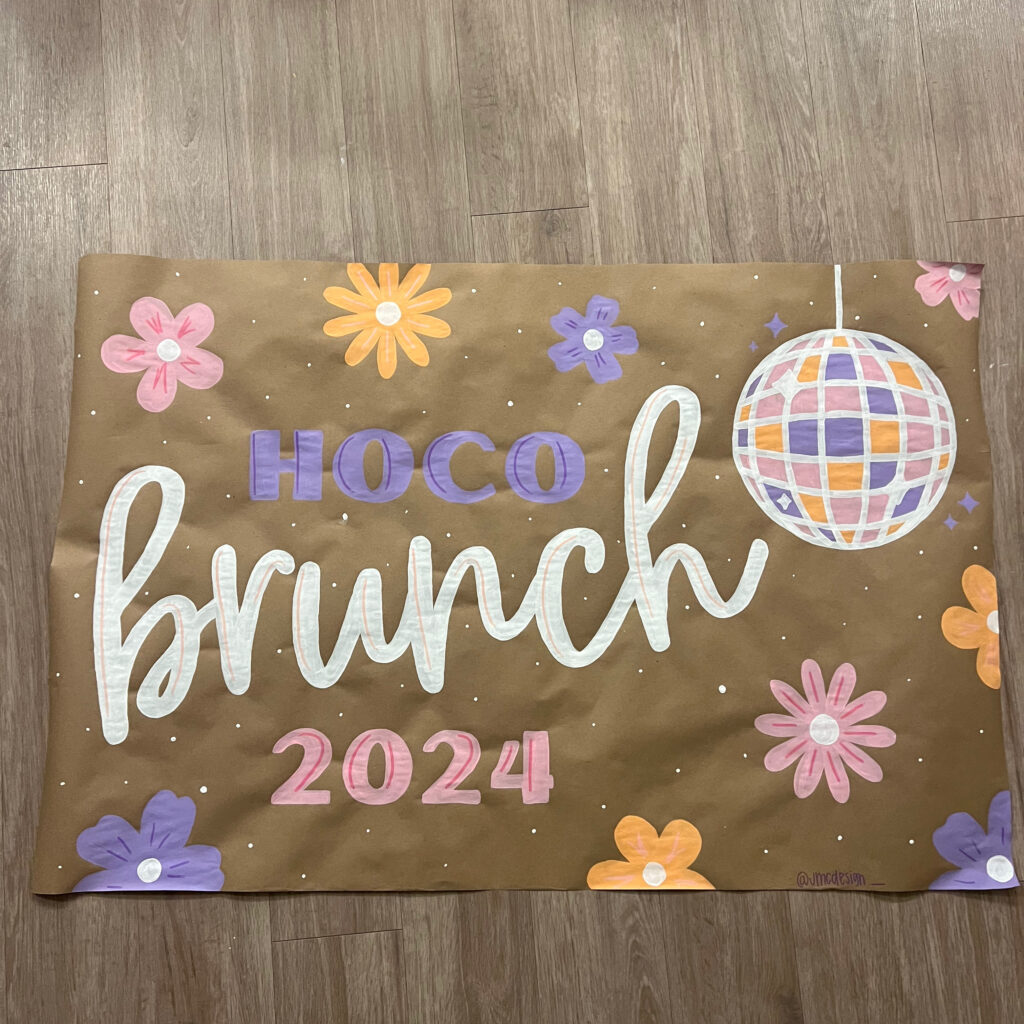
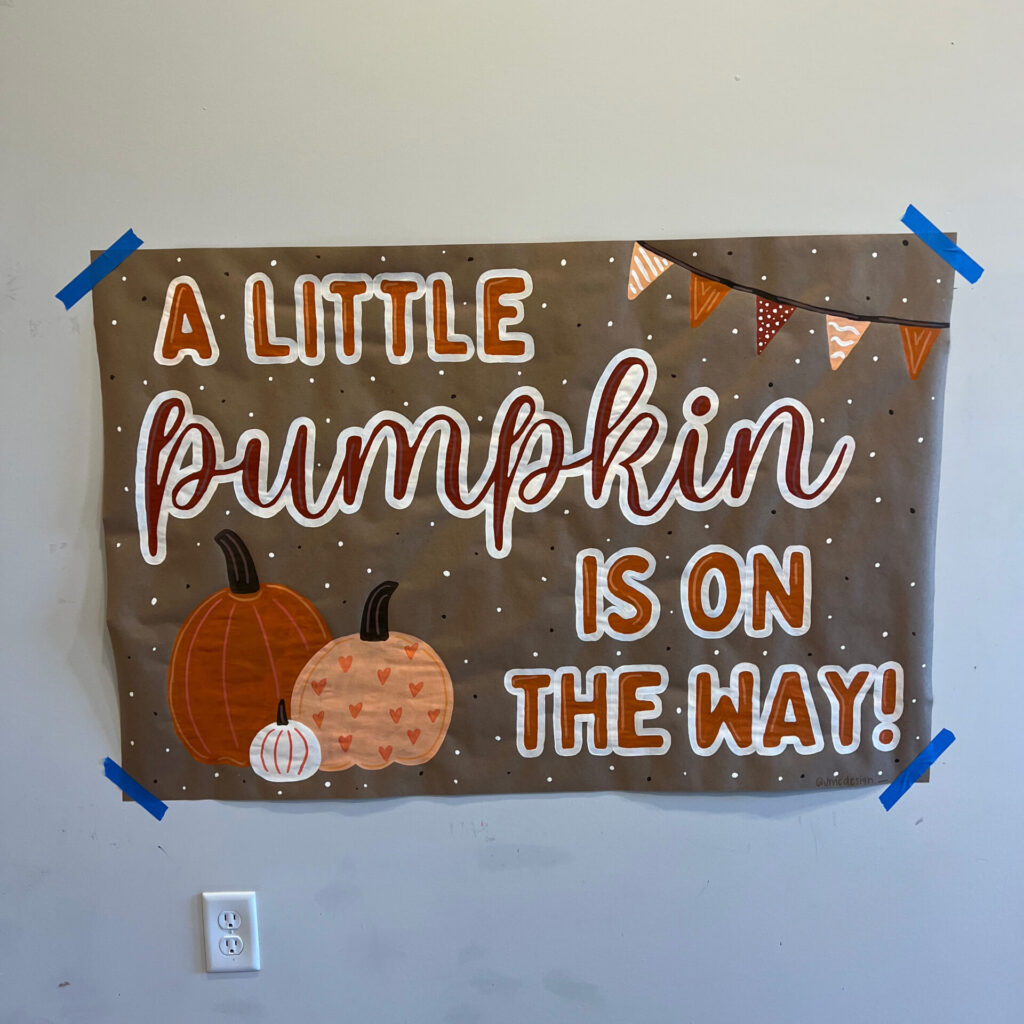
4. Practice and Build Your Skills Gradually
The more banners you paint, the more comfortable and confident you will become. Start with simple designs that focus on large shapes, clear lettering, and bold color blocking. As your skills grow, you can add shading, textures, and more detailed illustrations. Mistakes are completely normal, and every project teaches you something new about your materials and your artistic style. Experiment, try new things, look for inspiration, and keep painting!
5. Start With Friends and Family
One of the best ways to gain practice and build a portfolio is by offering free or low cost banners to people you know. This gives you hands on experience, helps you learn how to meet deadlines, and provides work you can share online. Word of mouth is extremely powerful so get as many of your close friends and family to talk about your new banner painting journey! When someone displays your banner at an event, many new eyes will see it and may become future clients!
6. Keep It Simple and Enjoy the Process
Starting your banner painting journey does not need to be complicated or expensive. Begin with the basics, let yourself learn naturally, and treat each project as a stepping stone. You will fail and mess up a lot but that means you are one step closer to becoming a banner artist! Keep trying, keep painting, and don’t stop when it gets tough! As you continue painting, your personal style will become clearer, and that is what makes hand painted banners feel so special and meaningful.